

1. Open the write-up
Open the saved observation and select Write-up in Results. In a narrow window, look in More actions. If the button appears as an icon, hover over it to find Open observation write-up. The document opens on the left and the observation’s results on the right. Drag the divider to give either side more room. A new write-up starts empty; an existing one opens where you left it.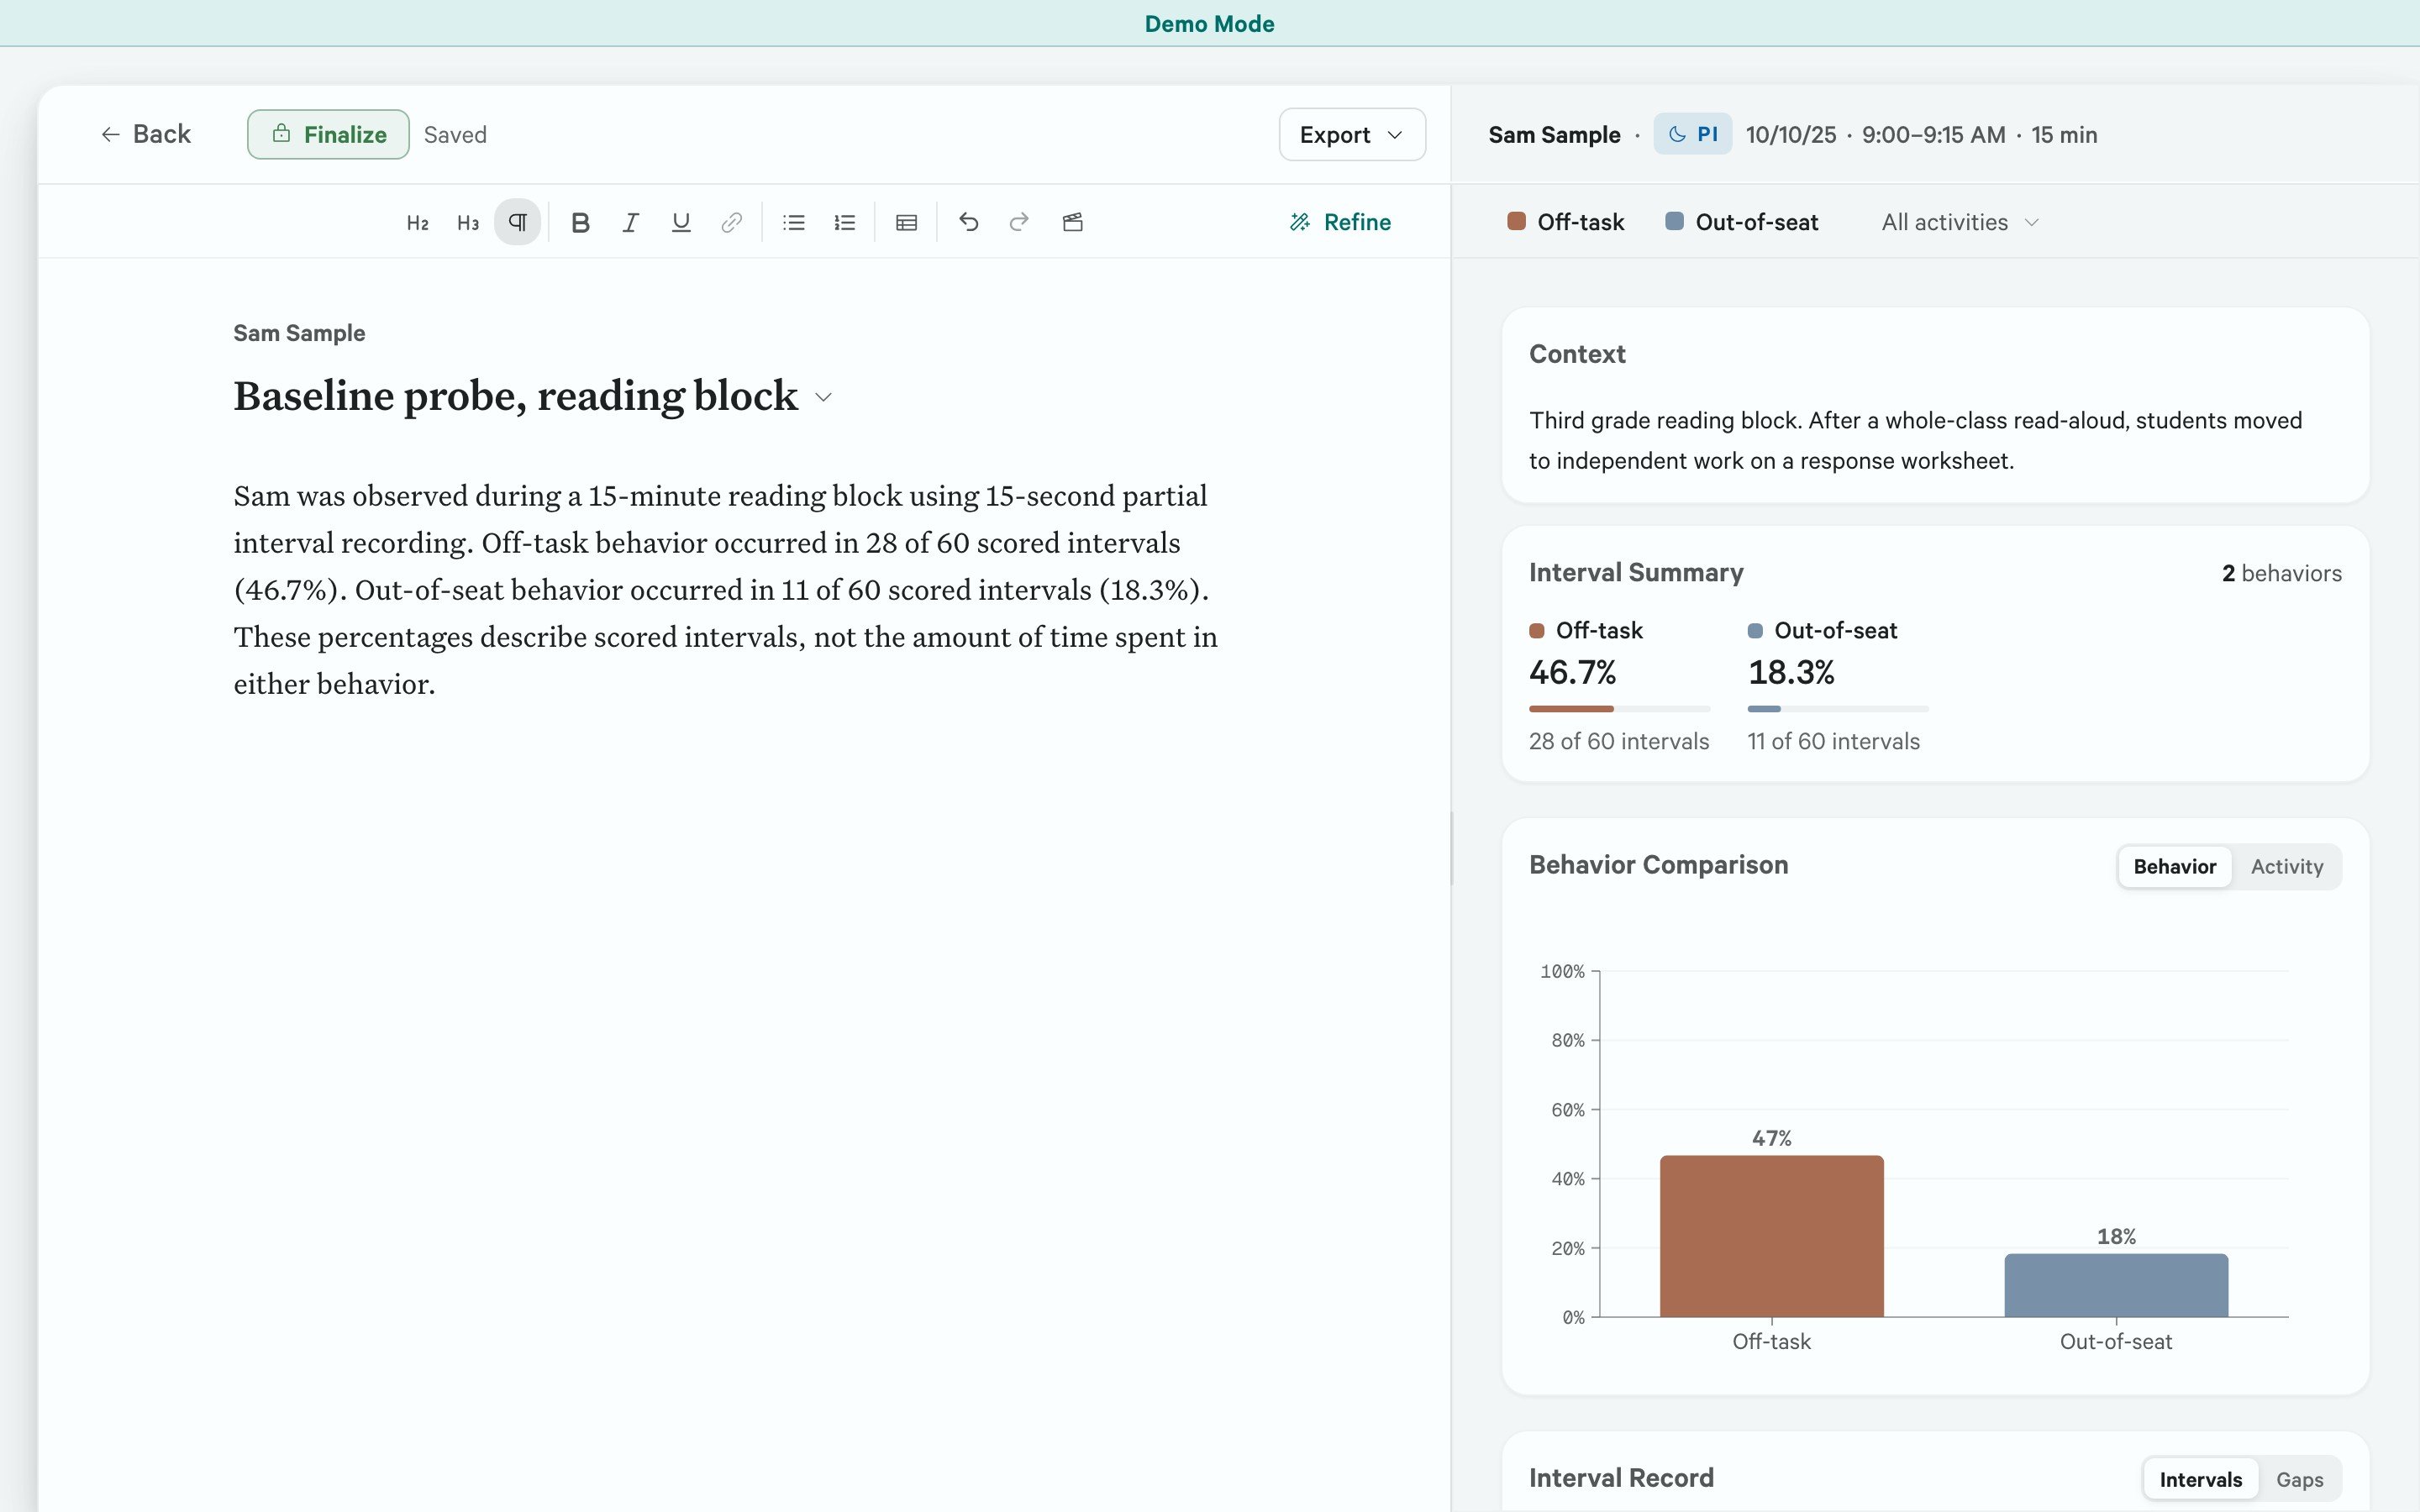
A manually written draft beside its recorded results. The Saved indicator appears above the editor.
2. Write and check your account
Click in the document to write or paste text. Check the recorded events, measurements, and notes in Results as you describe them. Use the toolbar for headings, emphasis, lists, and tables. To add an opening description, place the cursor where you want it and select Set the Stage, the clapperboard icon in the toolbar. It inserts prose from the saved session details, such as the student, date, setting, and method. Edit the paragraph to suit your account. This action does not require AI. Select the title above the document to name the write-up. Choose a setting or date option, or select Type a custom title… and press Enter when finished. AI revision and drafting are optional and require Pro access and AI setup. See Use AI while writing for the actions available to each method and how to review a suggestion. Whole-document replacement actions replace your existing text after confirmation; preserve any wording you want to keep before using them.If you correct the observation
Text already in the document does not update when you change the record. Check your account against the corrected results. Before using Set the Stage or exporting, select Back and reopen Write-up. This loads the corrected saved observation details for those actions. If you use AI, finish the corrections in Results before generating again. AI drafting uses the current Results entries. If you see Data changed since this summary was generated, select Regenerate, then review the new draft before using it.3. Save and return later
Sightline saves changes automatically. Wait for Saved before selecting Back. If you see Save failed, use Export → Copy Plain to preserve your text before leaving. Open the observation’s Write-up again to continue. Keep the status as Draft while writing. After reviewing the text, select Final at the top. This hides the editing toolbar and prevents title changes. Select Draft again to resume editing.4. Copy or export
You can copy or export in either Draft or Final status.- Export → Copy Formatted copies the document body for pasting into Word or Google Docs.
- Export → Copy Plain copies the body without formatting.
- Select Export → Export document….
- Choose PDF or Word.
- Choose any supporting tables and charts. The choices depend on the recording method and available data.
- Check the preview, then select Export and choose where to save the file.